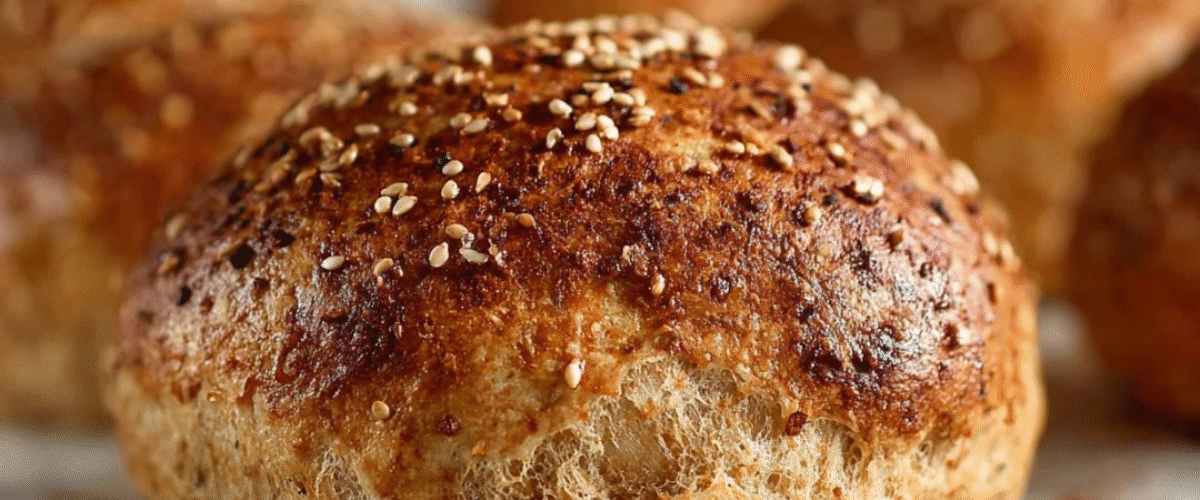
El pan proteico es una opción fantástica para quienes buscan aumentar su ingesta de proteínas mientras disfrutan de un delicioso pan casero. Esta receta es fácil de seguir y da como resultado un pan suave y sabroso, perfecto para sándwiches, tostadas o como acompañamiento de tus comidas. Preparar pan proteico en casa te permite controlar los ingredientes, haciéndolo más saludable que las opciones comerciales. Si eres un entusiasta del fitness o simplemente buscas una forma saludable de disfrutar del pan, esta receta es para ti.
¿Por qué hacer esta receta?
Preparar pan proteico ofrece varios beneficios. Primero, ayuda a mantener una dieta equilibrada al aumentar la cantidad de proteínas que consumes. La proteína es vital para la formación y reparación de tejidos, lo que la convierte en un componente esencial de una dieta saludable. Al usar yogur griego en esta receta, no solo aportas proteínas, sino también probióticos, excelentes para la salud intestinal. Además, este pan es versátil. Puedes disfrutarlo con diversos ingredientes, convirtiéndolo en una comida o refrigerio nutritivo. Finalmente, preparar tu propio pan es más económico que comprar opciones preenvasadas, lo que lo convierte en una ventaja para tu bolsillo y tu salud.
Cómo hacer pan proteico
Preparar pan proteico es sencillo y no requiere conocimientos avanzados de repostería. Sigue los sencillos pasos a continuación para crear tu propio pan proteico, delicioso y nutritivo.
Ingredientes:
- 200 g de harina integral o harina común (1 ½ tazas)
- 1 ½ cucharadita de polvo para hornear
- 200 g de yogur griego (se recomienda un mínimo de 5 % de grasa) (aproximadamente ¾ de taza)
- Sal marina (opcional, al gusto)
Instrucciones:
- Precalienta el horno a 190 °C o la freidora de aire a 140 °C. Si usas el horno, cubre una bandeja para hornear con papel vegetal.
- En un tazón grande, combine la harina, el polvo para hornear y la sal marina (opcional). Mezcle bien.
- Añade el yogur griego a los ingredientes secos. Usa una cuchara o espátula para mezclarlos hasta formar una masa suave. La masa debe ser suave pero manejable.
- Si la masa se siente pegajosa, espolvorea un poco más de harina. Si, por el contrario, está demasiado seca, añade una cucharada de yogur griego y vuelve a mezclar.
- Transfiera la masa a una superficie limpia y enharinada. Amase rápidamente durante aproximadamente un minuto hasta que esté suave.
- Divide la masa en 4 porciones iguales. Forma una bola suave con cada porción para formar los bollitos.
- Coloque el pan de proteína en la bandeja para hornear forrada con papel pergamino.
- Hornee en el horno precalentado durante 20 a 25 minutos. El pan de proteína estará listo cuando la parte superior esté dorada.
- Una vez horneado, retira el pan del horno y déjalo enfriar durante al menos 15 minutos antes de servir.
Cómo servir el pan proteico
Protein bread can be served in numerous ways. Slice it and use it for sandwiches filled with lean meats, veggies, and spreads. You can also toast the slices and top them with nut butter, avocado, or your favorite jam. For a hearty breakfast, enjoy it with eggs or a bowl of yogurt and fruit. The versatility of this protein bread makes it suitable for any meal of the day.
How to store Protein Bread
To keep your protein bread fresh, store it in an airtight container at room temperature. It is best consumed within 2 to 3 days. If you want it to last longer, consider freezing it. Wrap the cooled bread tightly in plastic wrap or foil and place it in a freezer-safe bag. It can last up to 3 months in the freezer. When ready to eat, simply thaw it at room temperature or pop it in the toaster.
Tips to make Protein Bread
- Make sure to measure your flour accurately; use the spoon-and-level method. Scoop flour into the measuring cup with a spoon and level it off without packing it down.
- For additional flavor, consider adding herbs or spices to the dry mixture.
- Experiment with different types of yogurt, such as flavored Greek yogurt, to add a unique twist to your protein bread.
- If you want a sweeter bread, feel free to add a tablespoon or two of honey or maple syrup to the mix.
Variation (if any)
You can easily customize this protein bread. Try incorporating seeds like chia or flaxseeds for extra texture and nutrition. Alternatively, mix in some nuts or dried fruits for added flavor. For a savory version, add cheese or olives to the dough. The possibilities are endless, allowing you to create a protein bread that meets your taste preferences.
FAQs
Can I use other types of flour?
Yes, you can use other types of flour such as almond flour or oat flour, but the texture may vary. You might need to adjust the quantities and possibly add more binding agents since these flours behave differently compared to wheat flour.
Is this bread gluten-free?
No, this recipe is not gluten-free as it contains whole wheat or all-purpose flour. However, you can modify it to be gluten-free by using a gluten-free flour blend.
Can I make this bread ahead of time?
Absolutely! You can make the dough in advance and keep it in the fridge for up to 24 hours before baking.
How do I know when the bread is done?
The bread is done when the top is golden brown, and it sounds hollow when tapped on the bottom. An internal temperature of 200°F (93°C) is also a good indicator.
Overall, protein bread is a smart addition to your meal plan. It is simple to make, delicious, and nutritious. Enjoy your homemade protein bread as a great source of energy, protein, and flavor in your diet!
Total prep time: 15 minutes
Total cook time: 25 minutes
Servings: About 4 buns
Información nutricional (por pan):
Calorías: 150
Proteínas: 10 g
Carbohidratos: 26 g
Grasas: 2 g
Fibra: 3 g
Sodio: 150 mg